Installing a wire fence can seem daunting, but it’s a rewarding DIY project. With the right tools and guidance, you can enhance your property’s security and aesthetics.
Wire fences from W&C Engineering are versatile, suitable for gardens, animal enclosures, and property boundaries. They offer a cost-effective solution compared to other fencing types.
Before you start, it’s crucial to plan and understand the different types of wire fencing available. Mesh fencing and BRC fence each have unique benefits and installation methods.
This guide will walk you through the process, ensuring a successful installation. Let’s get started on your wire fence project!
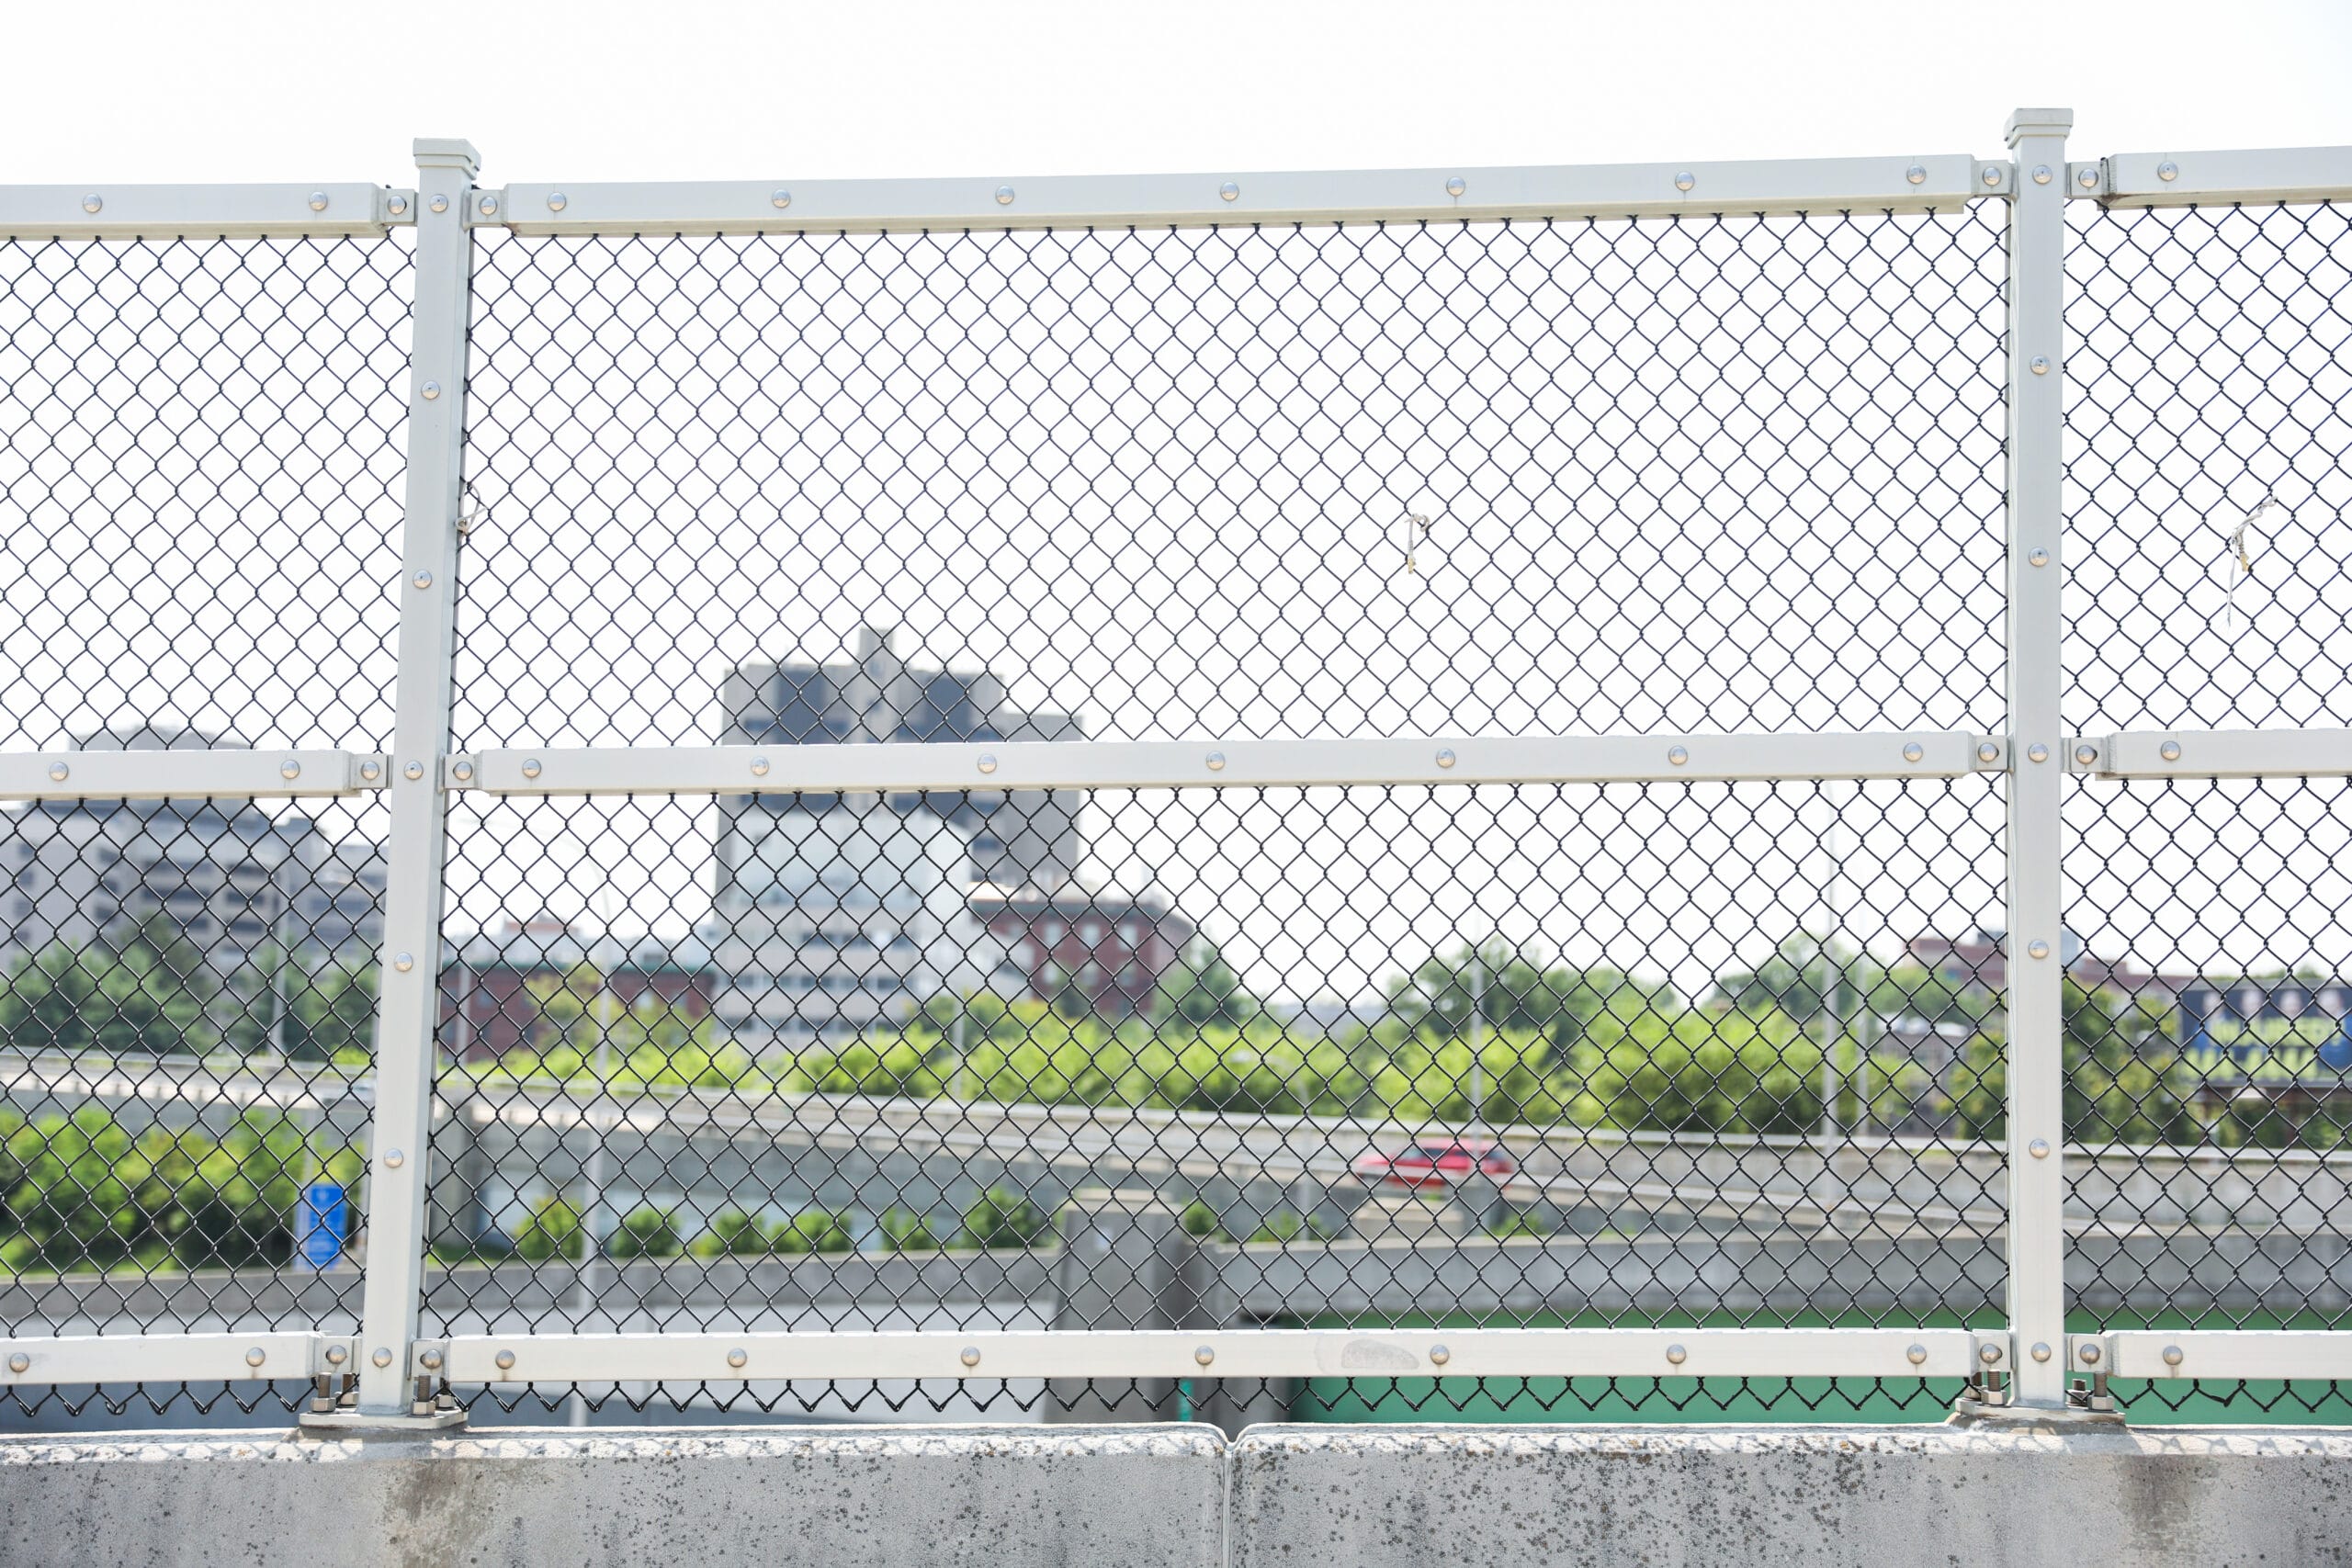
Understanding Wire Fencing: Types and Uses
Wire fencing is a versatile solution for various needs. Its adaptability makes it ideal for residential, agricultural, and commercial uses. Knowing the different types is key to meeting specific requirements.
There are several types of wire fences. Each type serves distinct purposes, with unique installation methods. Popular options include:
- Mesh fencing
- BRC fence
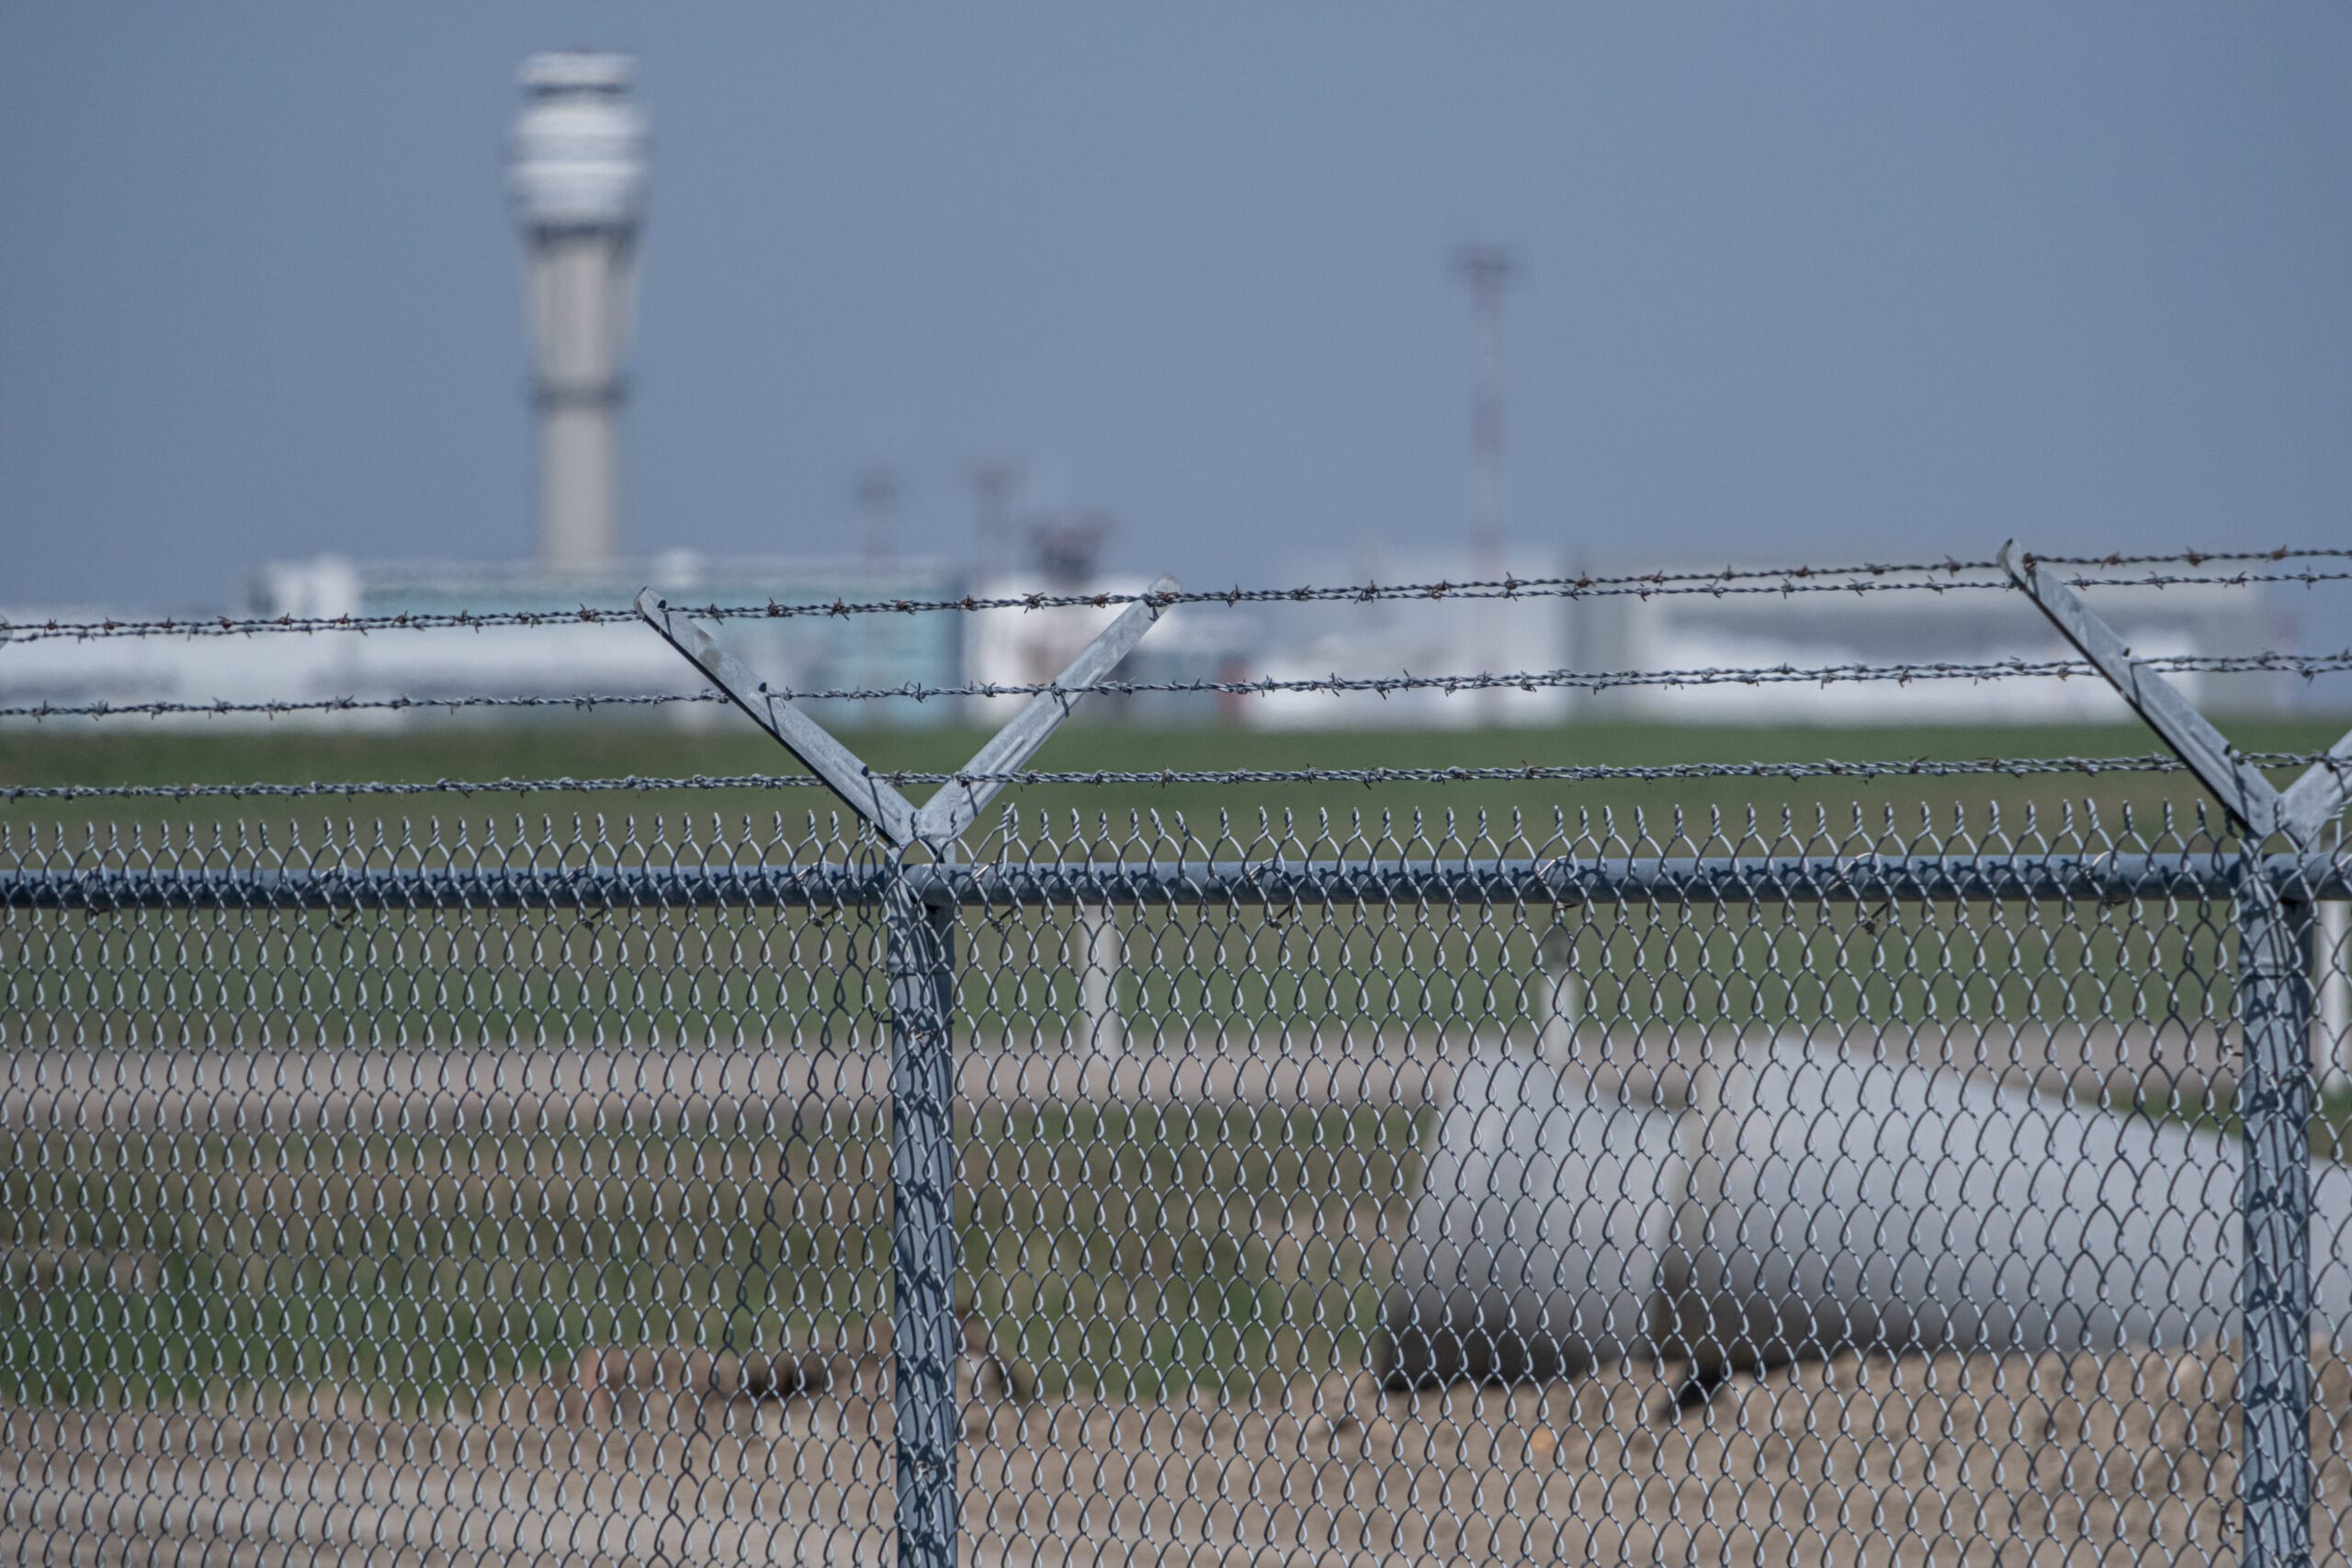
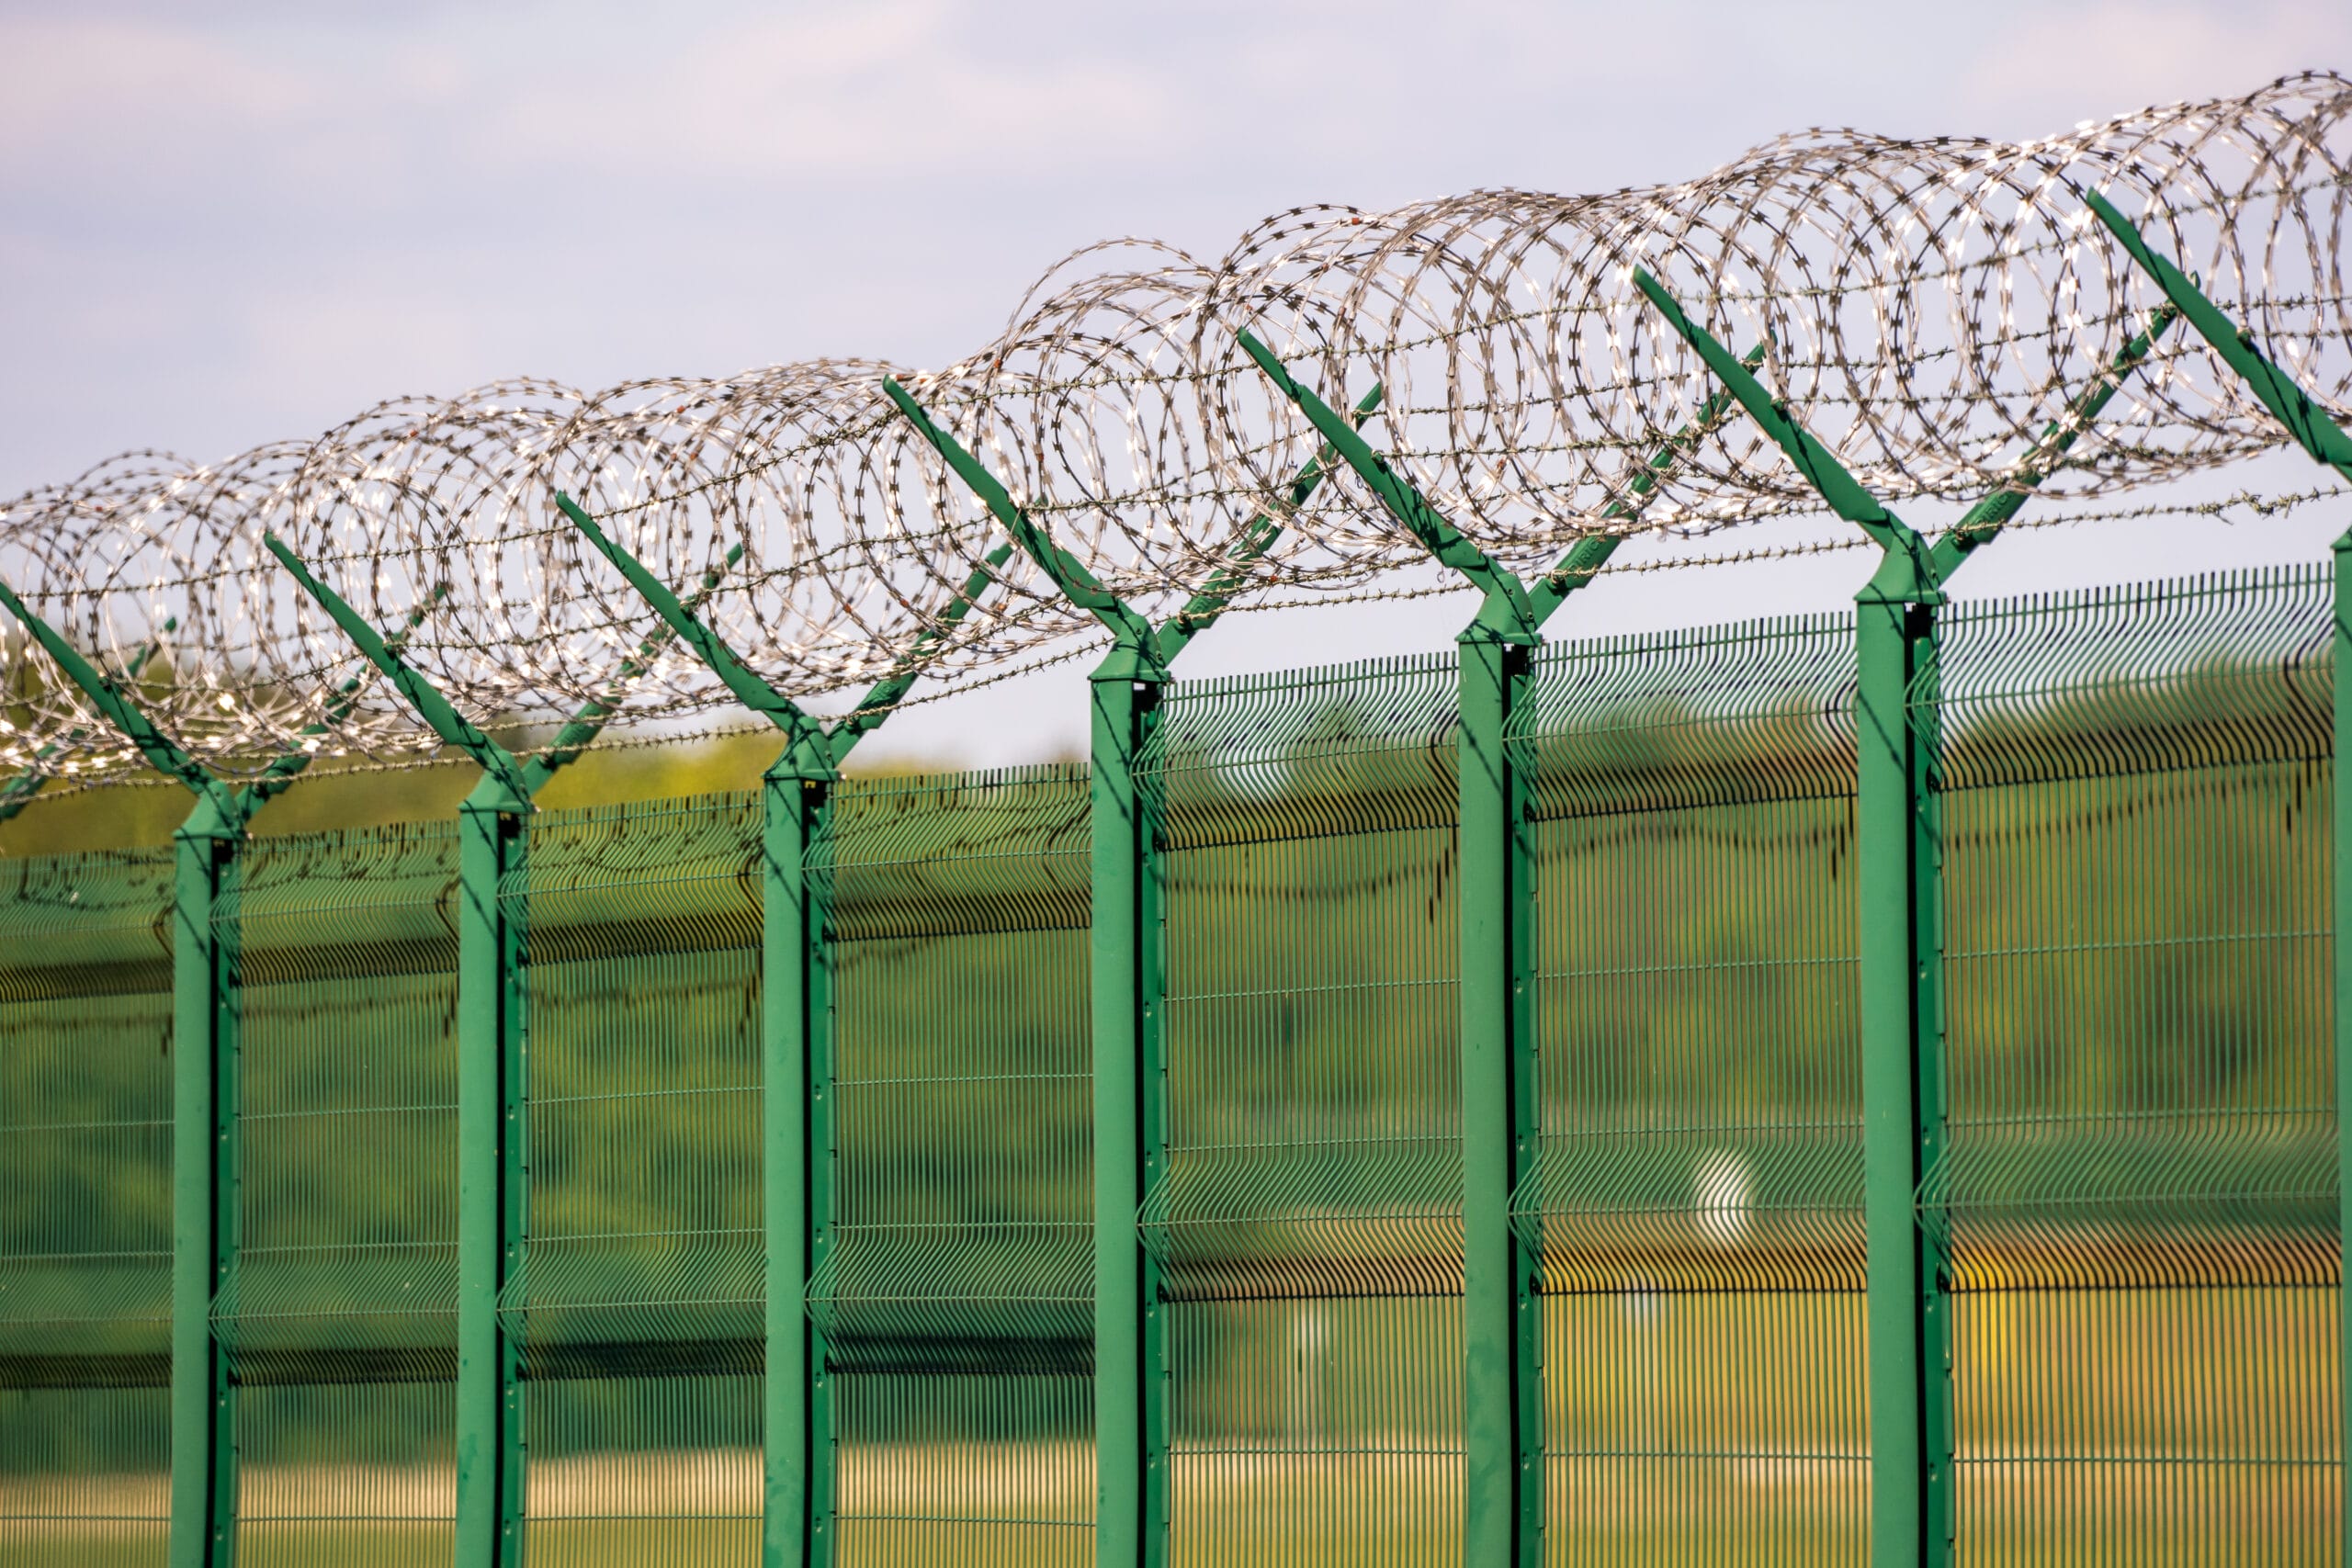
- Barbed wire
- Chain link fence
Mesh fencing is great for gardens and small animals. In contrast, BRC fences offer more durability and are pre-fabricated, simplifying the installation process. Consider your specific needs when choosing the right wire fence.
Planning Your Wire Fence Installation
Proper planning is crucial before installing a wire fence. Start by determining the purpose of your fence. This will guide material and design choices. Consider factors such as security, aesthetics, and budget.
Measure the area accurately to ensure you have enough materials. Plot the fence line carefully to avoid obstacles like trees or rocks. Keep local regulations and property lines in mind.
Create a list to organize your planning:
- Define the fence’s purpose
- Measure and map the area
- Check local regulations
- Plan for gates and access points
Good planning leads to a smoother installation process and a successful wire fence project.
Tools and Materials Needed
Having the right tools and materials is key to a seamless wire fence installation. Essential tools include a post hole digger, wire cutters, and a level. Don’t forget pliers and a measuring tape for precision work.
Choose materials based on your fence’s purpose and environmental conditions. Common wire options are galvanized, PVC-coated, and stainless steel. Ensure your posts, whether wood, metal, or concrete, suit your needs.
Here’s a simple checklist for your project:
- Post hole digger
- Wire cutters and pliers
- Level and measuring tape
- Galvanized, PVC-coated, or stainless steel wire
- Wood, metal, or concrete posts
Equipped with these, you can approach your wire fence installation with confidence.
Step-by-Step Guide: Installing a Wire Fence
Installing a wire fence involves several critical steps. Begin by planning and measuring carefully to set a solid foundation for your project. Here is a comprehensive guide to help you through the process:
- First, decide on the type of wire fence suitable for your needs. Options include mesh fencing and BRC fence, each with unique qualities.
- Plan your layout by surveying the area and identifying any obstacles like trees or rocks. This planning will guide your decisions on fence type and post placement.
- Next, gather your tools and materials, ensuring you have everything on site to avoid disruptions. This preparation saves time and keeps your project on track.
- Mark the fence line using stakes and string to ensure a straight path. Accurate marking is crucial for a professional-looking finish.
- Dig post holes to the appropriate depth, at least one-third the height of the post, for stability. Properly set posts are the backbone of your fence’s durability.
- Secure posts in gravel or concrete, checking for alignment and balance. Use a level to ensure each post stands straight.
- Attach the wire starting from one end, maintaining tension to avoid sagging. Secure with staples, clips, or ties as you proceed.
- Finally, check for tension regularly, adjusting as needed for a taut and secure fence.
Step 1: Marking and Measuring the Fence Line
Begin by outlining the planned fence area. Accurate marking prevents future alignment issues.
- Use stakes to mark corners
- Connect stakes with string
- Ensure straight lines
Proper measuring ensures that your fence aligns with your property boundaries and avoids legal issues.
Step 2: Installing Fence Posts
Posts form the structure of your fence. They need to be stable and correctly aligned.
- Dig post holes one-third of the post height
- Use gravel or concrete for stability
- Align using a level
Every post should be solidly placed to support the tension of the wire and maintain fence integrity.
Step 3: Attaching and Tensioning the Wire
Securing and tensioning the wire is crucial for a neat appearance and function.
- Start attaching from one end
- Maintain even tension to avoid sagging
- Secure with clips, staples, or ties
Proper tension prevents sagging, keeping the fence effective and aesthetically pleasing. Adjust the tension as necessary during installation.
Special Considerations for Mesh Fencing and BRC Fence
Mesh fencing and BRC fence offer distinct advantages, yet require different installation approaches. Understanding these can help achieve optimal results.
Mesh fencing needs precise tensioning to prevent sagging. Ensure the mesh is evenly spaced for an effective barrier.
For BRC fences:
- Minimal tension needed
- Pre-fabricated for easier setup
- Ensure secure connections at joints
Both types enhance security, yet differ in ease of installation and necessary precautions.
Installing Gates and Finishing Touches
Adding a gate provides access while maintaining security. Position the gate where it’s easily accessible and aligns with the fence line.
Ensure the gate operates smoothly and securely. Consider these steps:
- Use sturdy hinges and latches.
- Ensure even spacing for smooth motion.
- Align it properly with the fence.
After setting up the gate, assess the entire fence. Make adjustments to ensure everything is secure and level. This ensures durability and a polished appearance.
Maintenance Tips for Long-Lasting Wire Fences
Regular upkeep prolongs your fence’s lifespan. Check for rust or loose wires periodically. Simple maintenance can make a huge difference.
Focus on these tasks to ensure durability:
- Tighten any loose wires.
- Treat rust spots.
- Ensure posts remain stable.
Consistent attention keeps the fence functional and attractive. Remember, small checks prevent major repairs later.
Common Mistakes to Avoid
Mistakes in fence installation can lead to issues. A few simple errors are easy to avoid with the right knowledge.
Watch out for these common errors:
- Incorrect post spacing.
- Insufficient wire tensioning.
- Ignoring property lines.
Avoiding these mistakes ensures your fence is secure and lasts longer. Proper planning and execution save time and trouble down the road.
Conclusion
Installing a wire fence is a practical DIY project. With proper planning and techniques, it enhances your property’s security and appearance.
Always remember to maintain and inspect your fence regularly. A well-installed wire fence will serve you well for many years.
Find more about: